Filling in the Beneficiary Form
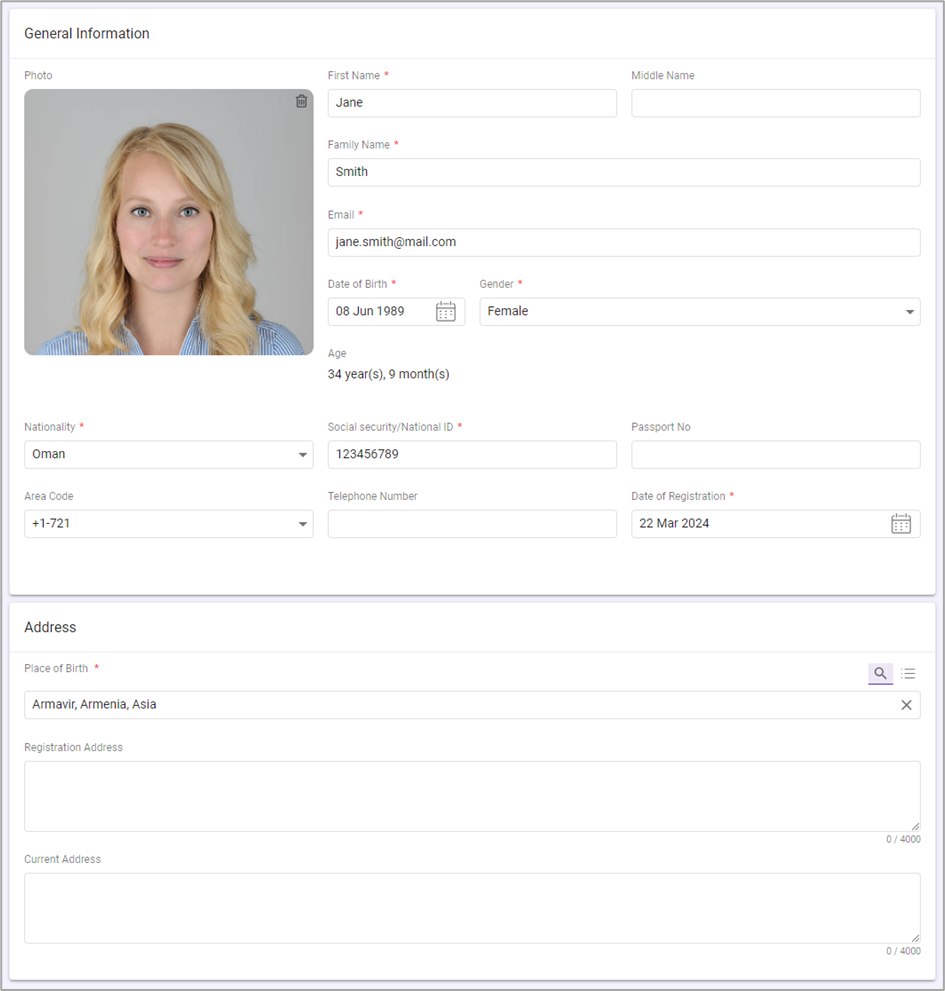
The Beneficiary data entry form (Figure 1) is designed to capture comprehensive information about individuals who benefit from the programs and projects implemented by the user organization. It serves as a central hub for registering new beneficiaries and updating the profiles of existing ones.
To provide the information requested in the Beneficiary form, fill in the following fields:
| Field | Action |
| General Information | |
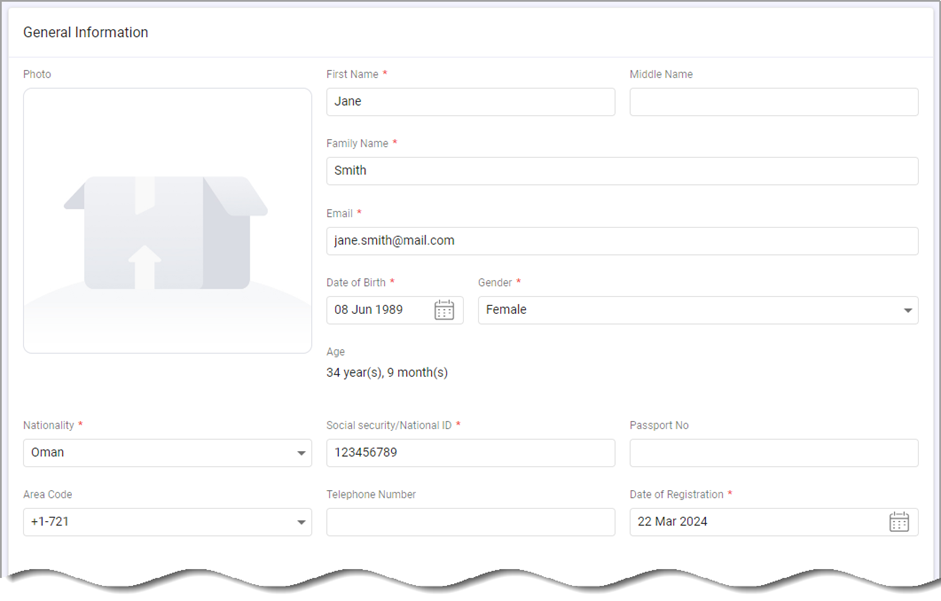
| Photo | Upload the beneficiary’s photograph to ensure accurate identification. For more details on how to upload image files, see Managing Photos. |
| First Name | Insert the beneficiary’s given name. This field is mandatory. |
| Middle Name | Insert the beneficiary’s middle name, if applicable. |
| Last Name | Insert the beneficiary’s family name. This field is mandatory. |
| Input the beneficiary’s email address. This field is mandatory. | |
| Date of Birth | Specify the beneficiary’s date of birth. This field is mandatory. To do this, use a calendar control available in this field (see Selecting a Date). |
| Gender | Indicate the beneficiary’s biological gender. This field is mandatory. To do this, select an available option from the drop-down list. |
| Age | This field is automatically calculated by the system based on the beneficiary’s date of birth. It shows the beneficiary’s age in years and months. |
| Nationality | Indicate the beneficiary’s nationality. This field is mandatory. To do this, select an available option from the drop-down list. |
| Social security/National ID | Provide the beneficiary’s social security number national identification number. This field is mandatory. |
| Passport No | If applicable, enter the beneficiary’s passport number. |
| Area Code | Indicate the area code associated with the beneficiary’s phone number. To do this, select an available option from the drop-down list. |
| Telephone Number | Enter the primary phone number to reach the beneficiary. |
| Date of Registration | Specify the date when the beneficiary is registered in the system. This field is mandatory. To do this, use a calendar control available in this field (see Selecting a Date). |
| Address | |
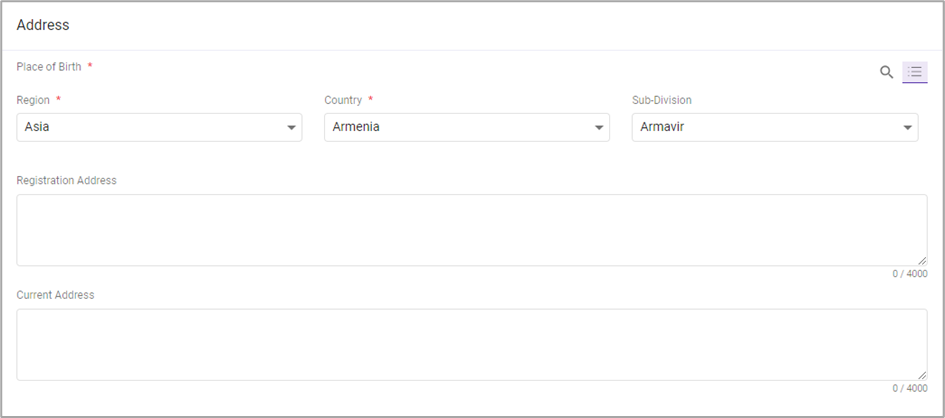
| Place of Birth | Indicate the region, country, and sub-division where the beneficiary was born. This field is mandatory. For more details on how to do this, see Managing Beneficiary Birthplaces. |
| Registration Address | Enter the full address of where the beneficiary is registered. |
| Current Address | Enter the full address of where the beneficiary presently resides. |
Managing Photos
This chapter describes how you can:
- Upload photos
- Remove photos
Uploading Photos
To upload a photo:
- Navigate to the Photo field and click the designated area to upload the beneficiary’s photo.
2. Locate the image file that you want to add to the beneficiary’s profile. The file should be in one of the following formats:
- jpg
- jpeg
- gif
3. The selected file is attached to the beneficiary’s profile.
Removing Photos
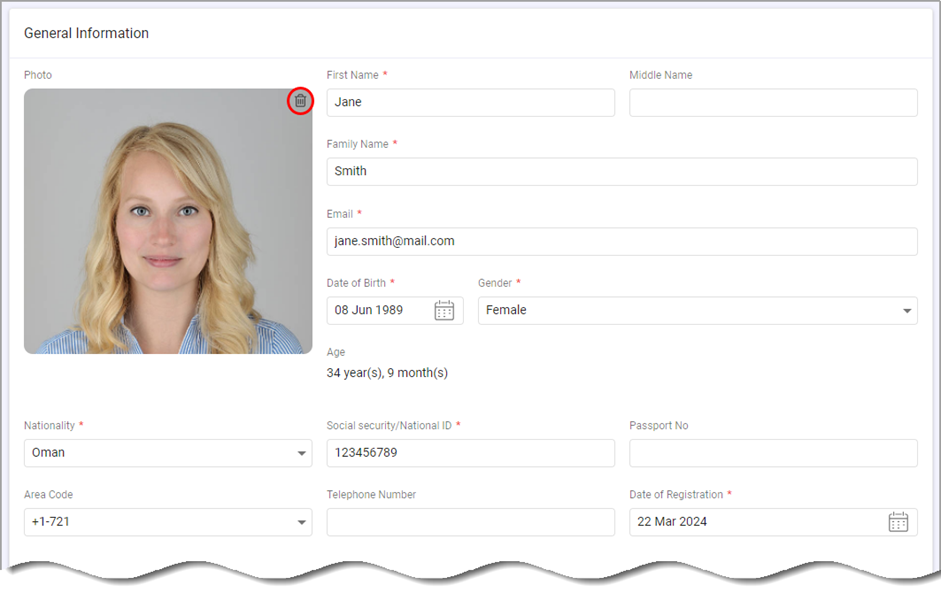
To remove a photo from the beneficiary’s profile:
- Navigate to the Photo field.
- Click in the top right corner of the beneficiary’s image.
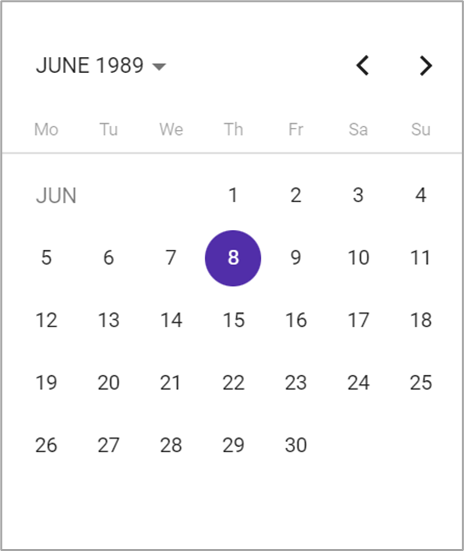
Selecting a Date
The Calendar pop-up appears for the fields that require a date input. It provides an easy way to select the year, month, and day of the event. To access the calendar pop-up, press the calendar icon next to the date field.
Managing Beneficiary Birthplaces
This chapter describes how you can:
- Add beneficiary birthplaces
- Manually search for beneficiary birthplaces
Adding Beneficiary Birthplaces
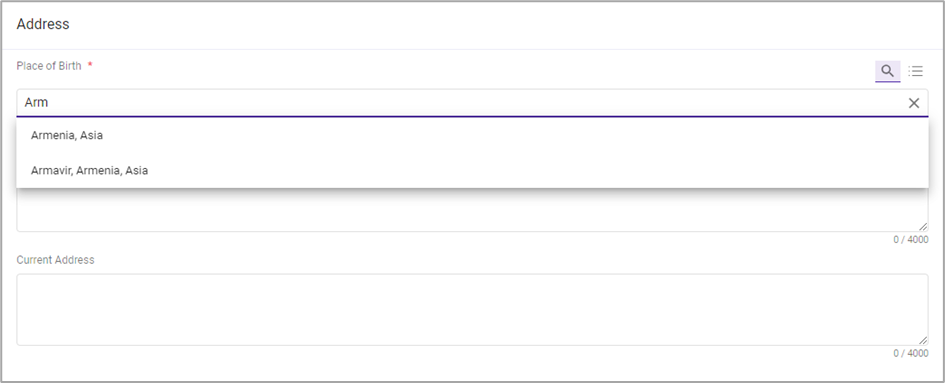
To add a project birthplace:
- In the Place of Birth field, activate the option.
- Search for the birthplace that you want to add to the beneficiary profile. For this, type the keyword into the search box. The search engine queries the system database and returns all matches to your query.
Manually Selecting Beneficiary Birthplaces
Alternatively, you can manually select the birthplace that you want to add to the beneficiary profile. To select a birthplace:
- In the Place of Birth field, activate the option.
- Select the beneficiary birthplace as it is described in the table below:
| Field | Action |
| Region | Indicate the region in the beneficiary’s birthplace. To do this, select an available option from the drop-down list. After you select a region, the Country field will dynamically adjust to display only the options relevant to the selected region. |
| Country | Indicate the country in the beneficiary’s birthplace. To do this, select an available option from the drop-down list. After you select a country, the Sub-Divisi on field will dynamically adjust to display only the options relevant to the selected country. |
| Sub-Division | Indicate the sub-division in the beneficiary’s birthplace. To do this, select an available option from the drop-down list. |